Hello everyone!
We’re on the last >build< part of the “Petzval-Adaption” journey. I’m not sure if it ever will be finished. 😉
In the last post we put together the adapter. In this post I’ll ramble about the finish I applied and in the next one we’ll see some photographic results! 😉
I knew from the start that I wanted to have a ‘classic’ finish that suits the brass lens well, think warm colours and old techniques.
I decided on regular wood stain, bought as a powder and dissolved with water, and shellac which I had left over from a past fountain pen repair. (Yes, some old fountain pens used shellac as a replacement for glue.)
Here are the parts I’ve used in this post:
 – “Nut-brown” stain
– Retainer to stop the lens from slipping upwards out of the adapter (the bar on top)- Miniature hinge to hold the retainer on one side and a strap to lock it down
– Apertures that attach to the front of the lens.
– Two turned brass screws to attach the apertures to.
I believe these images are after 7 layers of stain.
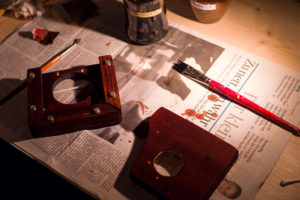
Sadly we’re going to have a little jump here.. I haven’t got any photos of me applying shellac or attaching the strap or anything really.
Well done me!
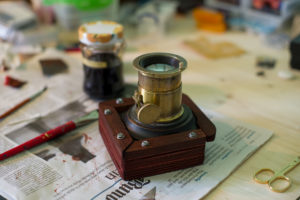
Applying Shellac is fairly easy, unless you want to get a high end shine. It dries pretty fast too and personally I like how it feels to touch. It really gives the cheap wood I’ve used a ‘premium’ feel.
So, let’s make the jump to the finished product:
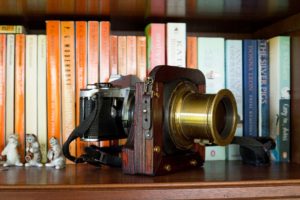
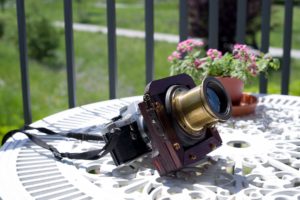

So.. what’s left is to show you the photos. I’ve yet to get through the film in the ME-Super (FP4 Plus 125) but from the results I got on the K-1 I really couldn’t be happier!
Thanks for reading, I hope you’ve enjoyed it & as always, stay tuned!
Geoffrey